Wallpaper hides more than color. Beneath it may be sound paint, bare drywall, plaster, old adhesive, patches, seams, stains, or damage from earlier removal attempts. Because those conditions cannot be fully seen in advance, wallpaper removal and final painting should include clear checkpoints and a plan for unexpected preparation.
Start With the Covering History
Record when the wallpaper was installed if known, whether it was professionally applied, and whether another layer may sit beneath it. Note lifting seams, bubbles, stains, tears, painted-over paper, and areas previously patched.
Identify the wall material when records are available. Drywall facing paper, plaster, panel products, and repaired areas can respond differently during removal. Do not peel back a corner as a casual test if the contractor has not selected the test location; a small pull can damage the substrate or release dust from older material.
In older properties, unknown coatings or materials may require testing before abrasion or disturbance. Ask how the contractor handles that decision.
Use a Controlled Test Area
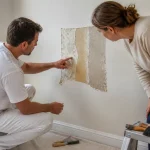
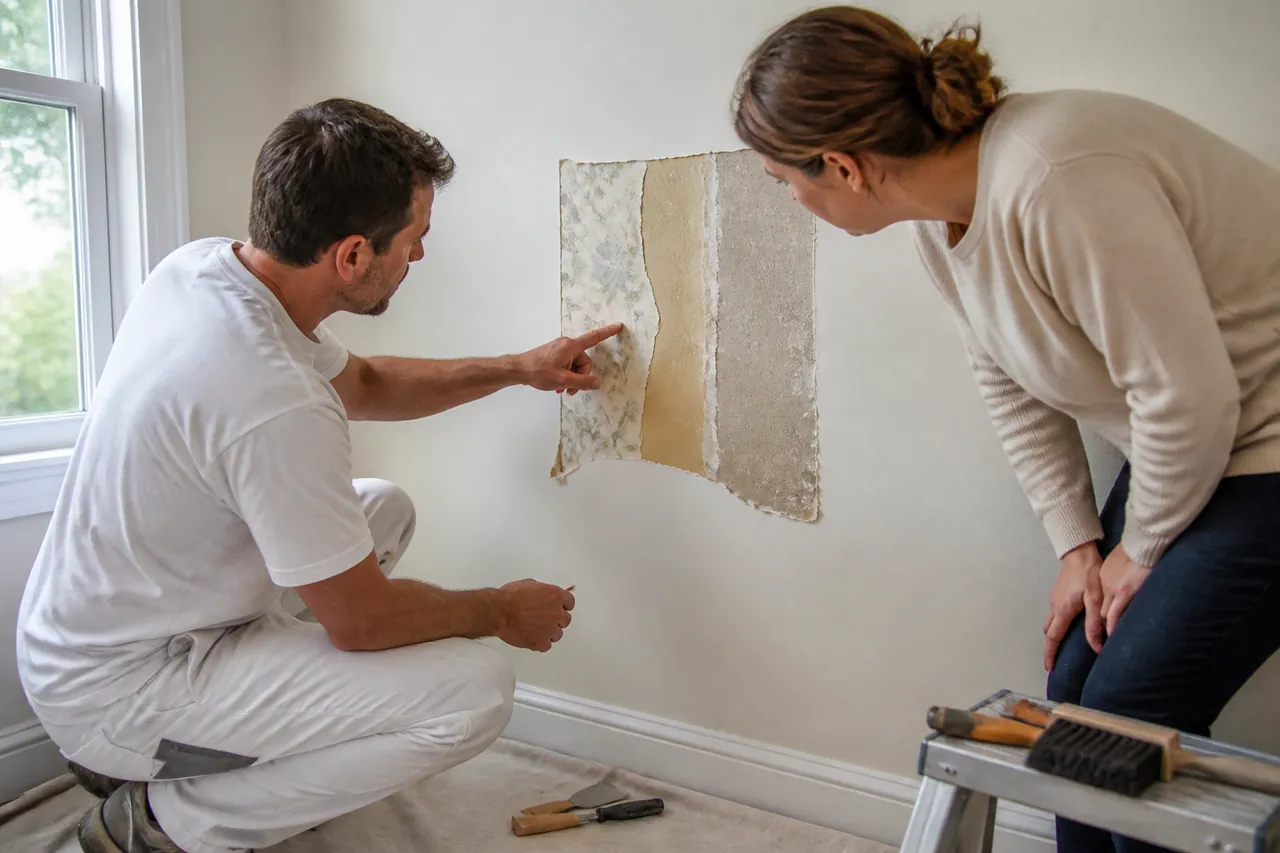
A professional test area can reveal how readily the face separates, whether backing remains, how strongly adhesive holds, and how the wall surface responds. Ask where the test will occur and how the result changes the proposed preparation.
One easy section does not mean that every wall will behave the same way. Sun exposure, moisture, repairs, different installation batches, and prior spot work can create substantial variation within a room.
The scope should explain what the initial removal includes and when hidden conditions trigger a review rather than an automatic expansion of work.
Expect Adhesive and Surface Differences
After the decorative layer comes off, adhesive may remain in patches or across the full wall. It needs to be addressed according to the substrate and intended finish. Painting directly over poorly prepared residue can leave texture, adhesion, or sheen problems.
Drywall facing may tear, plaster can have cracks or loose areas, and old patches may sit at different levels. Joint seams and fastener repairs can become visible. These are not all the same repair, and the contractor should describe how each observed condition will be stabilized and prepared.
Water stains, soft material, musty odor, or visible biological growth may indicate a condition outside ordinary wallpaper work. The source needs appropriate assessment before finish coating.
Discuss the Desired Final Appearance
Flat paint in forgiving light may reveal less surface variation than a higher sheen under strong side lighting, but product choice cannot replace sound preparation. Tell the contractor how the room is lit and which walls receive grazing daylight or prominent fixture light.
Ask what finish level is included and whether broad skim work, texture removal, or extensive plaster repair is a separate scope. Exact invisibility of every historical mark may not be realistic without changing the level of preparation.
Protect the Occupied Space
Clarify floor and furniture protection, dust control, debris handling, ventilation, and daily cleanup. Plan for outlet covers, trim, curtains, and fragile items. Households should not scrape or sand alongside the crew without understanding material risks and containment.
Keep children and pets away from active removal and wet preparation areas.
Add a Decision Checkpoint
After removal and initial cleaning, walk the walls before primer and paint. Record newly visible conditions, approved repairs, exclusions, and any schedule change. Photograph representative areas for the project file.
Wallpaper removal is discovery as much as demolition. A scope that allows the hidden wall to be examined before final preparation gives the homeowner and contractor a responsible way to move from unknown conditions to an agreed painted finish.